How to Install Pavers
Installation & Patterns
Stone 101
Stone 101
Tools:
Shovel
Tape Measure
Garden Rake
Tamper
Rubber Mallet
Hammer
Mason Chisel
Broom
Caulk Gun (optional)
Circular Saw (optional)
Masonry Circular Saw Blade
Materials:
Pavers
Paver Base
String
Landscape Fabric + Landscape Fabric Pins
Paver Sand
2×4 Wood Board
Paver Edge Restraints + Paver Spikes
Jointing/Polymeric Sand
Construction Adhesive
Marking Paint (optional)
How to install pavers – We carry most material needed for patio installations!
Stop by one of our locations in Harwich or Mashpee for everything you’ll need to complete your project.
How to Install Pavers Guide
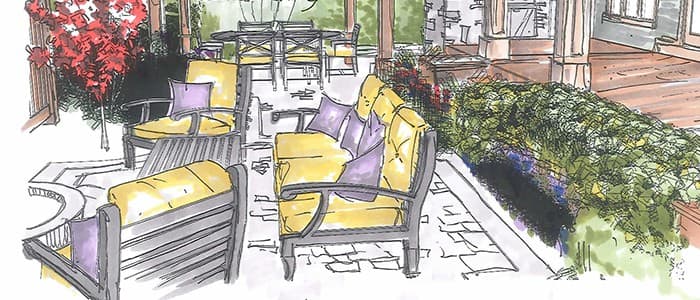
As with most projects, learning how to install pavers requires a plan. Map out your existing landscape on graph paper, including major elements such as your home, existing walkways, and trees. Don’t forget to consider sight lines from windows and doors and how your project will affect them. Add your new project to the map, and work toward a finished design accurate to 1 inch.
When you plan your patio or walkway, your desired use will help determine the location:
In addition, you’ll want to be sure that you keep away from underground utilities and avoid areas near large trees — the roots will be very difficult to deal with.
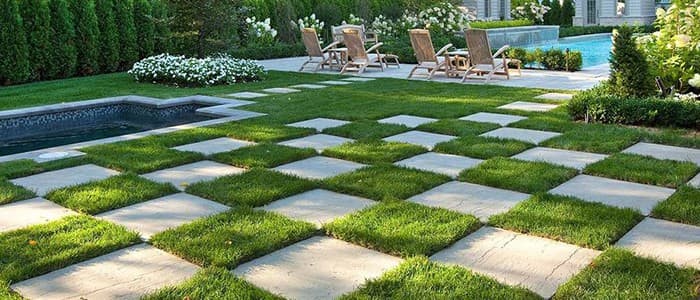
Project shape and paver style, color and pattern are largely a matter of personal taste. We have a huge selection to compliment many different tastes, landscapes and functions. Be sure to think about who will be using the space frequently, and choose materials with their particular needs in mind. For example, irregular flagging provides a classic, timeworn look, while a smoother, more regular surface may work better for guests.
How to Install Pavers Guide
Design a patio large enough to accommodate the furnishings you want. For example, if you plan to use your patio for meals, you’ll need enough space to comfortably place a dining set. Don’t forget to factor in space for the chairs to slide out and walking space around them. Add room for any other furnishings you want on your patio, such as additional furniture, planters or a fire pit.
If you’re creating a walkway, plan for a width of at least 2 feet to accommodate one person and at least 4 feet to allow two people to walk side-by-side. A wheelchair will need a slightly larger pathway, consider something that’s at least 3 feet wide and a 5-foot-wide turn around area.
Remember! Before beginning any excavation, check for underground utilities. Call the North America One Call Referral Service at 1-888-258-0808 (or just dial 811) for a national directory of utility companies.
How to Install Pavers Guide
Step 1.
Calculate the total area of your project in square feet. This measurement determines the number of pavers and the amount of paver base and paver sand you need.
(Length in feet) x (Width in feet) = Area
For Example: 14 ft x 10 ft = 140 sq ft
Irregular shapes can be calculated by breaking it down into multiple sections. Calculate the area of each individual section and add these together.
Step 2.
Determine the square footage per piece of your pavers. Use the actual dimensions of the paver when calculating this figure. These examples use pavers that are 7.7 inches long and 3.8 inches wide. (A square foot equals 144 square inches.)
(Paver Length in inches) x (Paver Width in inches) ÷ 144 = Square Footage Per Piece
7.7 in x 3.8 in ÷ 144 = 0.20 sq ft
When you shop for pavers, look for planning guides that list the square footage per piece for various pavers — including those with irregular shapes — and that provide information to help you estimate your needs if you use a combination of pavers with different sizes.
Step 3.
Estimate the number of pavers you need.
(Area of project in square feet) ÷ (Square footage per piece) = Estimated Minimum Number of Pavers
96 sq ft ÷ 0.20 sq ft = 480 Pavers
Purchase 10% more pavers than your estimate. The excess should account for breakage, pavers that you need to cut and replacements for future repairs.
Step 4.
Determine the amount of paver base necessary. Paver base is gravel that creates a solid base and helps the area drain properly. The paver base for a patio or walkway should be 4 inches deep when compacted. The calculation below factors in compaction.
(Length in inches) x (Width in inches) x [(Depth of Base Material in inches) + (Depth of Base Material in inches x 0.20)] ÷ 1728 = Cubic Feet of Base Material
144 in x 96 in x [4 in + (4 in x 0.20)] ÷ 1728 = 38.40 cu ft
Be sure to find out if your paver requires a “wet-set” or “dry-set”. This will help lengthen the lifespan of the pavers and prevent cracking.
Step 5.
Estimate the amount of paver sand you need. The sand holds the pavers in place and allows you to adjust them. The paver sand needs to be 1 inch deep. The calculation below accounts for sand filtering into the paver base and into the joints between the pavers.
(Area in square feet) ÷ 6 = Cubic Feet of Paver Sand
96 sq ft ÷ 6 = 16 cu ft
Step 6.
Calculate the perimeter of your project. This figure defines how much paver edge restraint you need.
(Length of Side in feet) + (Length of Side in feet) + (Length of Side in feet) + (Length of Side in feet) = Perimeter
12 ft + 8 ft + 12 ft + 8 ft = 40 ft
If you’re installing a patio or walkway against a structure, you only need to include the open edges of the project in your perimeter calculations. You won’t need paver edge restraints on the edges that are next to the structure.
Step 7.
Calculate the required quantity of paver edge restraints. You’ll base this on the perimeter of the project and the edge restraints you choose. The example below uses paver edge restraints available in 6-foot sections.
(Perimeter in feet) ÷ (Length in feet of an individual edge restraint section) = Number of Sections of Edge Restraint
40 ft ÷ 6 ft = 6.7 Sections
How to Install Pavers Guide
Step 1.
Measure the area for the patio or walkway in the desired location. Move out six inches on all sides from the planned area and drive stakes into the ground, running string or mason’s line between the stakes to outline the excavation area. If you’re installing a patio or walkway against a structure, move out from the sides that are not adjacent to the structure. The extra space will allow you to install paver edge restraints around the patio or walkway to hold the pavers in place.
Step 2.
If your design is rectangular, check the layout for square. Measure the distance diagonally between the corners. If the two diagonal measurements are equal, the area is square. Adjust the layout as needed.
Step 3.
Estimate the inches of drop from the edge of the project closest to your house or other structure to the edge farthest away, allowing a slope of 1/4 inch per foot. Excavate at least 6 inches of soil to maintain this slope. Periodically check the depth and slope. The ground should always slope away from structures for proper drainage. If it doesn’t, expand your excavation at the far edge to accommodate a boundary of retaining wall blocks in two or more courses or consider regrading that portion of your yard.
Step 4.
Use a rake to spread paver base to a compacted thickness of four inches. Add the material in two inch increments and thoroughly compact each layer before adding the next. Make sure the finished base has a uniform surface and maintains the slope for drainage.
You can compact the base with a hand tamper or rent a plate compactor to make the work quicker and easier. Wear work gloves, safety glasses and hearing protection when using a plate compactor.
Step 5.
Cover the excavation area with landscape fabric to inhibit weed growth.
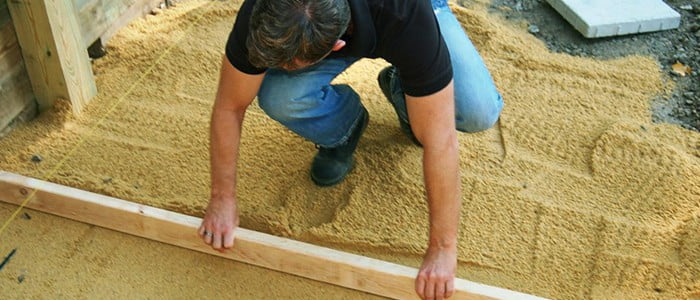
Step 6.
Lay a pair of 1-inch-outside-diameter pipes parallel to each other on the compacted base. Spread paver sand over the base. Smooth the sand at a 1-inch depth by pulling a 2-x-4 board across the pipes. Remove the pipes. Fill in and level the gaps they leave. Depending on the size and shape of your project, you may have to repeat the process until you have a uniform 1-inch bed of sand across the entire area
Sand can filter down into the paver base. Check the depth and slope before laying pavers.
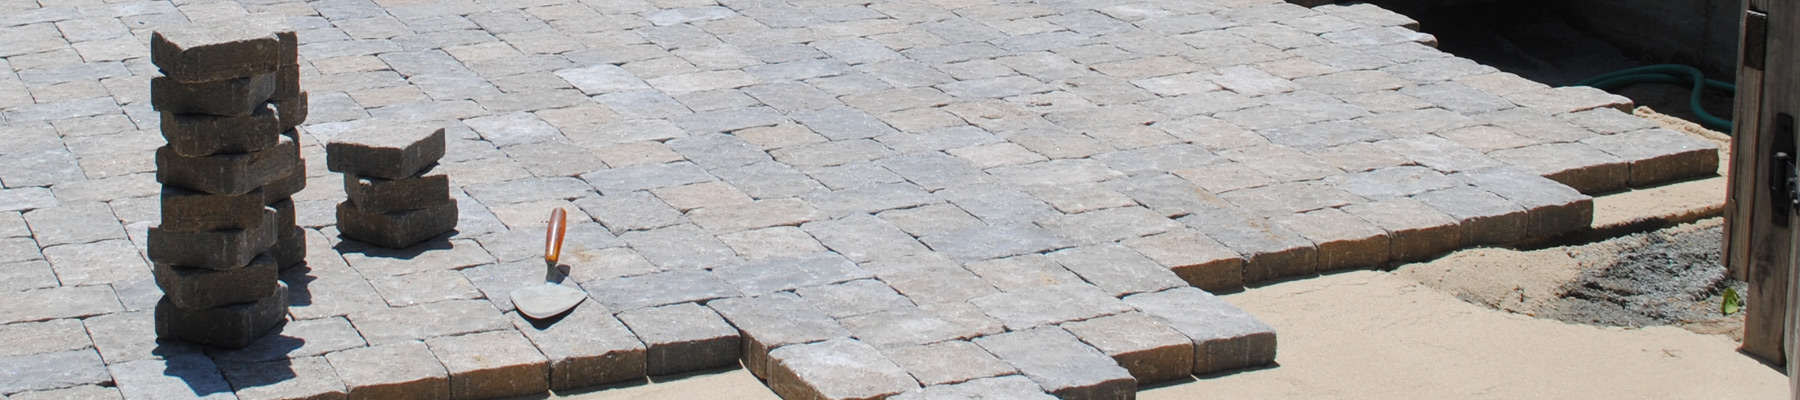
How to Install Pavers Guide
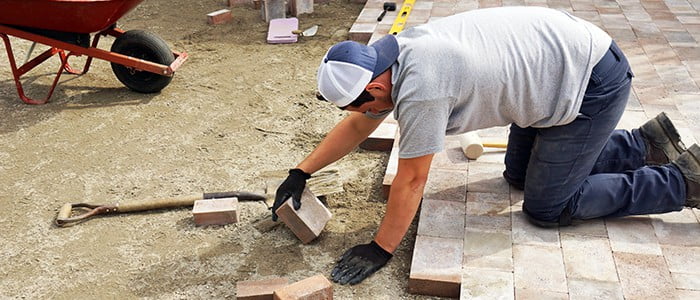
Step 1.
Beginning at the corner where you have the least flexibility for adjustment (such as next to a structure), lay pavers in the desired pattern. Keep the pavers tight against each other. Do not place pavers in the extra 6-inch perimeter you established in Step 1. Maintain a uniform surface and the proper slope. Tap the pavers with a rubber mallet to adjust and set them. Work gloves should always be worn when working on a project of this nature.
Step 2.
You will likely need to cut some pavers to create your pattern or to finish off edges. Use a hammer and chisel or a circular saw and masonry blade to cut the pavers.
To create a 90-degree mitered corner, cut a 45-degree angle on two pavers. Glue the cut sides together with exterior-grade concrete adhesive so the two faces form the finished outside corner.
Important! Wear eye protection and work gloves when cutting pavers. If you use a power saw, you also need hearing protection and a safety mask / respirator.
Step 3.
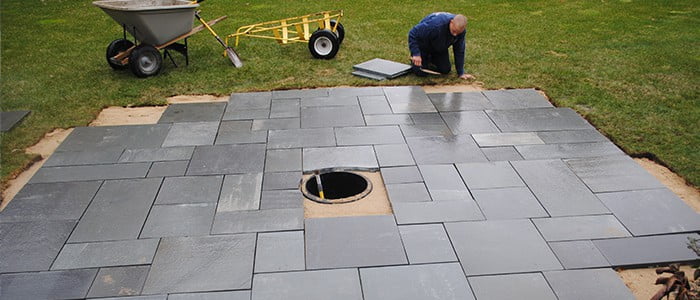
Install paver edge restraints around the entire project.
Step 4.
Make sure the surface is completely dry, and spread joint sand or polymeric sand on the installation. The packaging should tell you how to determine the amount of material you need.
How to Install Pavers Guide
Now that you know how to install pavers, complete your project with some touches that make your hard work stand out:
For Everblue Patterns – click here
Bluestone
Travertine
(styles subject to change, based on availability)

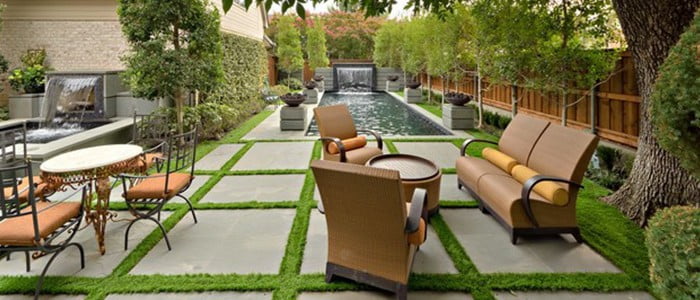
Place Outdoor Furniture
Ensure you’ll be able to comfortably enjoy your new patio by choosing some comfortable outdoor furniture.
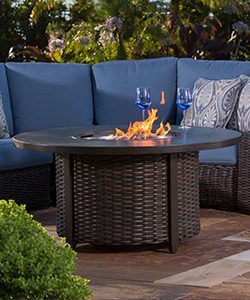
Add a Fire Pit
Fire pits are a great way to extend the life of your outdoor enjoyment.

Install Lighting
Landscape lighting enhances the look of your space at night, lights dark walkways and extends the usefulness of your patio beyond the daylight hours.
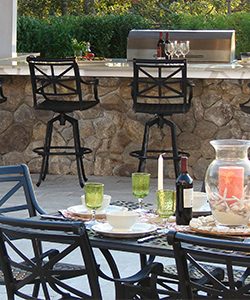
Consider an Outdoor Kitchen
Make outdoor entertaining a breeze with a custom outdoor kitchen.