DIY, Indoor Living
[Guest Post] 6 Steps to Build a DIY Rustic Barn Door
Jun
This post was written by Mariana Radonic at La Casa Design Studio, in Harwich, MA.
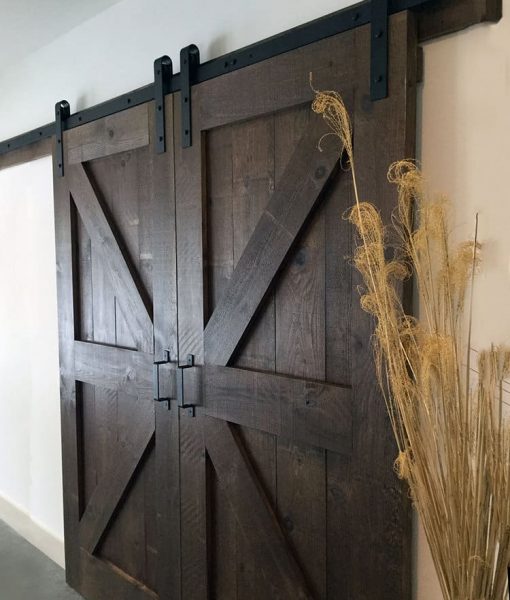
As I mentioned in my blog post from May 9, 2017, barn doors are a timeless design solution for an existing home that needs more privacy or a new home featuring Transitional style. This decorative piece serves as a visual focus point, while also allowing to control the amount of light and noise in the house very effectively. I put together this blog post to describe the process of making the door so you too can make it on your own.
Here are my 6 Steps to build a DIY rustic barn door:
1. Measure your door opening.
The opening between the living room and playroom which I designed the door for is 6′ wide by 7′ tall, so I chose to make each of my door panels 38″x86″ (2″ wider and taller to accommodate the gap by overlapping the wall slightly).
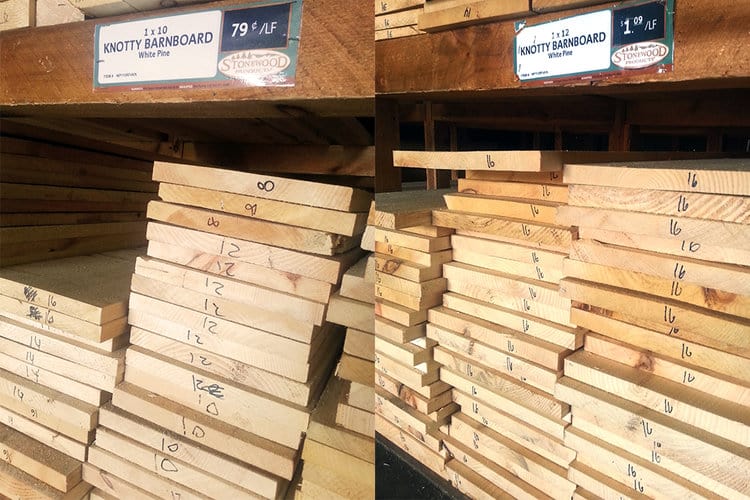
2. Determine the type of wood and board sizes.
I chose rough sawn barn board pine, available at Stonewood Products in Harwich in 1×10 ($0.79/lf) and 1×12 ($1.09/lf). The wood, together with glue and screws, cost me around $200.
3. Meet with the carpenter to discuss the technical aspects of production.
After sketching my door based on the lumber is chosen, I showed it to the carpenter, who recommended that this door is done in two layers of wood: a back panel made of four boards and an attractive piece in the front that holds the door together and hides the screws.

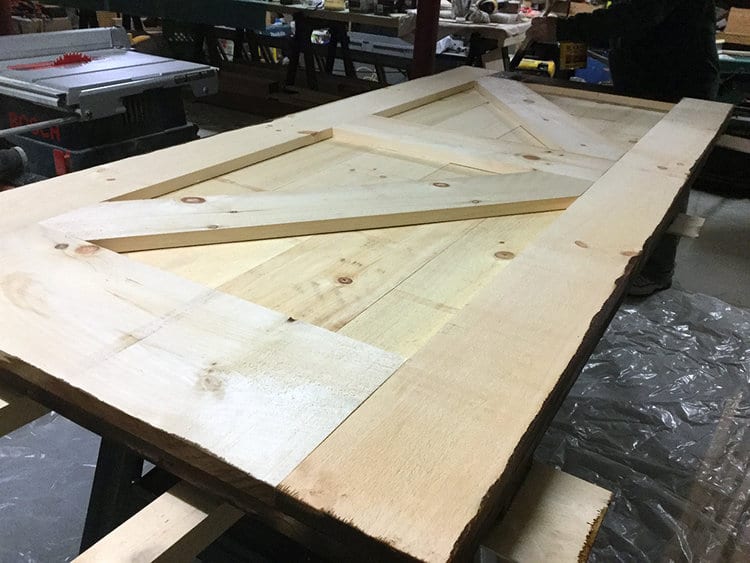
4. Build the door.
Once the size of the pieces was determined, it was time to build the door. We started with the front panel. Kreg Jig® joining solution lets screw wholes to be placed at the back of the panel and not visible. We also glued the pieces together for more strength, making sure to clean all the excess glue carefully. This step is very important because any spots with glue on them might not take the stain. To make the back panel, we first cut half lap joints using the table saw. Then, we used glue and black trim head screws which we camouflaged later. Finally, we put three back rails across the back panel to help keep it together, making sure that the top one doesn’t interfere with the door hardware. We attached the front and back panels together and let them set for 24 hours.
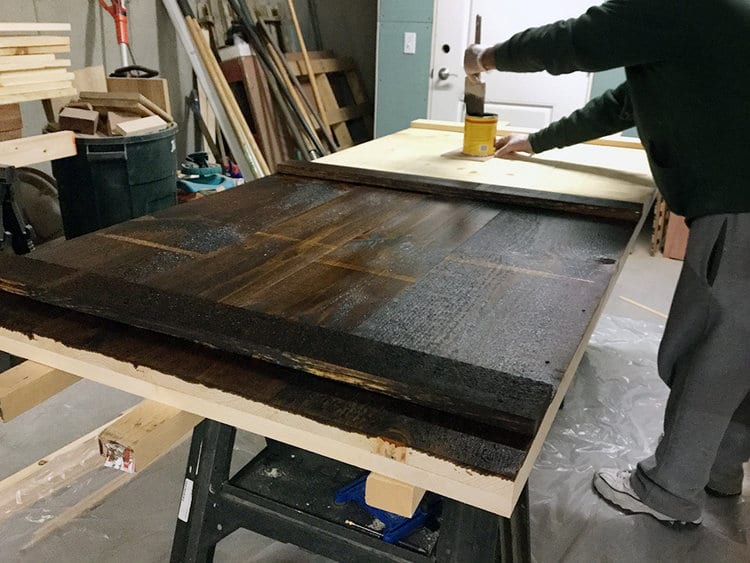
5. Apply the stain for color and finish for durability.
Once the door was built, it was time to pick the right stain. We tried the colors we picked on different pieces of our wood to make sure the color was exactly what we wanted and recommend you do the same. We chose Minwax wood finish in Early American 230 (around 1qt per door). This oil-based wood stain provides beautiful rich color that enhances the natural wood grain, applies easily, and penetrates deep into the pores of the wood. We applied applied two coats of Minwax and after those coats dried, we added two more coats of Aqua Borne Ceramithane clear finish. This is a water borne acrylic-urethane finish coating that crosslinks to form a very hard, impervious film. Crosslinking unites the molecules to form a continuous barrier that protects the surface.
6. Pick the hardware.
It took me some time to find the right hardware. I bought it online from Artisan Hardware.com for around $600 (around $300 for each door). The Classic Sliding Barn Door Hardware is Artisan Hardware’s staple product. Its simple and sleek design, combined with the efficient and load bearing capabilities, made it a perfect fit for the rustic style that I was going for.
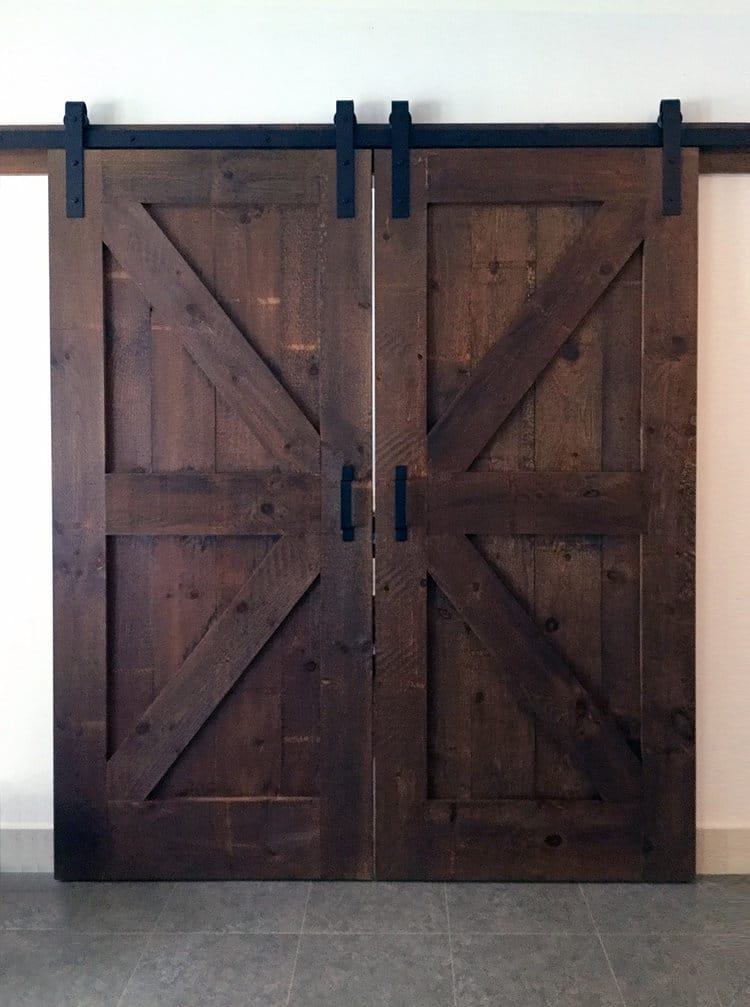
That was the last touch to finish the project and I’m really happy with the result. The doors look wonderful and they really make the space stand out! Final cost: +/- $1,000 materials plus +/- $1,500 labor. If you like these doors and would like to add them to your space, I’ll be happy to meet you to discuss your needs!